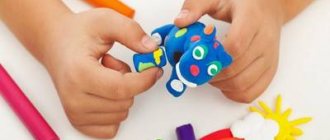
Peacock made of plasticine and paper
If your child prefers to work with plasticine, invite him to sculpt a peacock:
- Make a circle and an oval from plasticine;
- Connect the round head and oval body;
- Fashion a triangular beak and attach to the head;
- Make a peacock crest from a cotton swab cut in half;
- Roll a piece of colored crepe paper into small balls;
- Cut out a semicircle from cardboard - the future tail of a peacock;
- Coat the semicircle with plasticine;
- Glue rows of paper balls in rows to form the peacock's tail.
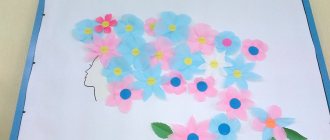
Plasticine rose
- Roll long thin sausages from green plasticine, these will be the stems;
- Glue the stems to a piece of paper;
- Roll long, thin sausages from red, pink or yellow plasticine;
- Roll the sausage in a spiral to create a circle. These will be flowers;
- Attach flowers to stems;
- Make leaves from flat green ovals and add veins to them.
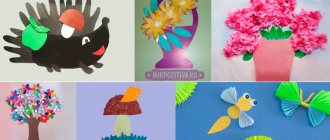
By the age of five, children have already mastered most of the techniques used in creating crafts, and the choice of product is limited only by the availability of the necessary materials at home.
Butterfly in palms
By the age of five, children are good at cutting out, especially large parts. With older children you can make a three-dimensional paper craft:
- Fold the A4 sheet in half;
- Place your palm on the fold and trace it with a pencil;
- Cut out the shape, you should have two palms joined together;
- Paint your palms;
- Cut out two butterflies from thick colored paper or cardboard, one of them should be slightly larger;
- Glue a large butterfly in the center of the palms. Apply glue only in the center so that the wings can rise;
- Glue a smaller butterfly on top;
- Fold the wings up so they stick out.
Cardboard cactus
- Decorate a white paper cup to suit your taste. This will be a cactus pot;
- Cut out 3 ovals from double-sided green cardstock;
- Fold each oval in half lengthwise;
- Glue the ovals like this. Coat one of the halves with glue, attach the second oval to it so that the two halves are connected and the other two stick out;
- Using the same technique, glue the third oval.
Place the resulting cactus in a pot. If desired, you can draw spines on the cactus or add a flower to it.